How to Block Instagram on a Mac
Prevent a person from accessing Instagram on a Mac either permanently or temporarily

If you are trying to restrict access to Instagram on a Mac, you might have tried deleting the app only to find that it's too easy to reinstall it from the App Store and use it again.
To make things even more complicated, it's also possible to access Instagram from a web browser like Safari, so effectively blocking Instagram isn't always straightforward.
Restriction techniques also vary depending on the age of the person you are trying to prevent from accessing Instagram on Mac.
In this guide, we'll walk you through the Mac-specific instructions for blocking Instagram using approaches that work depending on the age of the person you are trying to restrict from accessing Instagram. We'll also go through strategies for permanent or temporary Instagram restriction.
Is it worth completely restricting access to Instagram on a Mac?
Regardless of the age of the person you are trying to restrict from using the Instagram app, here are a few of our top reasons why you might want to block Instagram completely on a Mac:
Inappropriate Instagram profiles can be difficult to filter out
Instagram profiles are often used to advertise adult content either subtly or blatantly. This can be a particular problem if you are trying to prevent someone from seeking out or accidentally finding adult content.
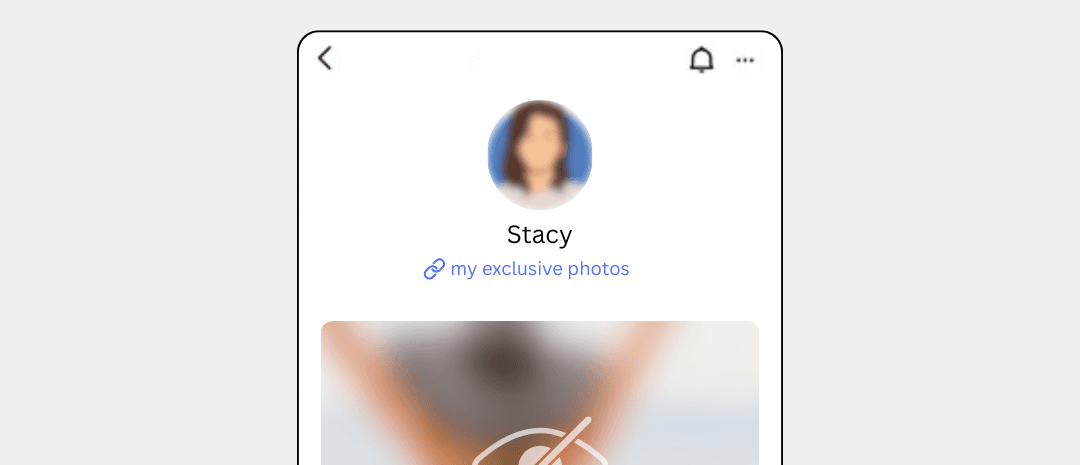
Instagram might suggest inappropriate content
Instagram might suggest images or videos that you'd rather prevent a person from seeing. Even if preferences are adjusted to hide obvious explicit content, Instagram might still suggest content that can be a "stumbling block" for people who are trying to guard their eyes.

Connecting strangers
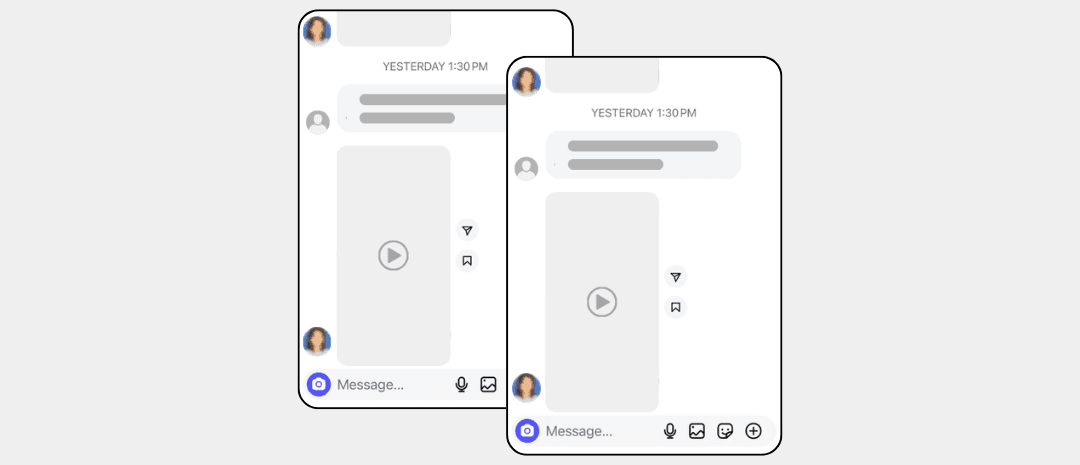
The Instagram feed includes posts and reels from strangers, not just friends and connections. It's possible to private message strangers on Instagram. This can be problematic for all ages, depending on the kind of issue you are trying to prevent.
Alternatives to completely blocking Instagram on a Mac
Depending on your reasons for wanting to block Instagram, you might find that there are alternative approaches you can use so that a person can still use Instagram on a Mac:
Increase transparency around Instagram use
Many of the issues surrounding Instagram can be addressed by increasing transparency around a person's use of it by using a screen monitoring app. With this approach, a person can have some additional freedom to use platforms that might be problematic without transparency.
Customize preferences for problematic Instagram features
It's possible to customize the Instagram account preferences to minimize the impact of some of the most problematic features of the app. For example, you can customize profile visibility, and content & communication preferences.
Schedule Instagram use
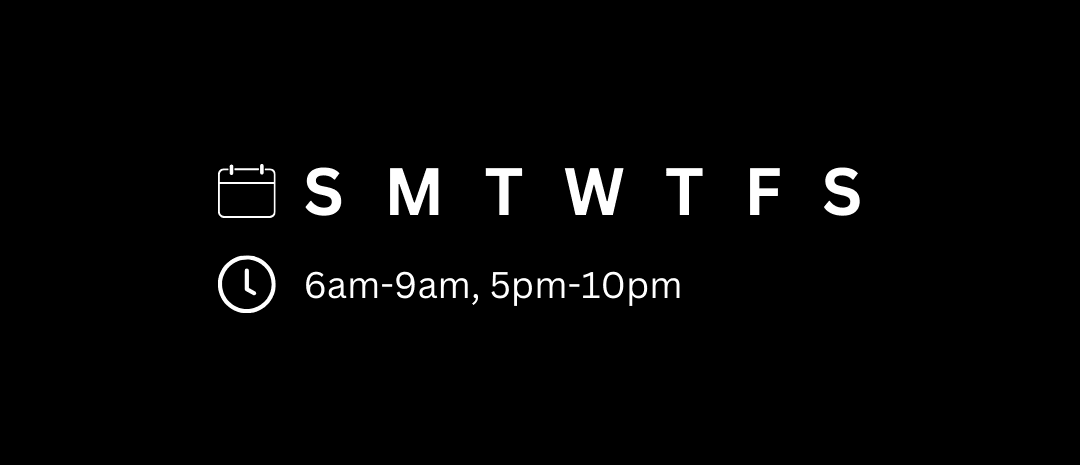
Another approach is to schedule when Instagram is blocked so that it can still be used sometimes on a Mac. If the person is using the app in a problematic way, you can limit access to the app to specific times of day or days of the week where there is more accountability. For example, you might choose to only allow Instagram access during lunch, but keep it blocked at night.
Choosing the Best Approach for Restricting a person from using Instagram on a Mac
In order to provide you with the best possible guide, we need to consider a few things to direct you to the most effective way to block Instagram on a Mac.
How old is the person you are trying to restrict from accessing Instagram on a Mac?
Approaches vary based on the age of the person you are trying to restrict from accessing Instagram. See the following guides for a more specific approach:
Should Instagram be restricted permanently or temporarily?
There are strategies you can use in either case, which we'll get into in this guide.
Using Instagram's time management feature
If you are mainly trying to reduce the amount of time a person uses Instagram, instead of blocking it always, you can try using Instagram's built-in time management feature. In the app, go to Settings and activity > Time management. From here, you can review daily usage and customize two time-management features:
- Daily limit: specify a time limit for daily usage. Instagram will notify you when you approach this limit so that you can choose to stop using the app.
- Sleep mode: mute notifications from the app during days/time you specify.
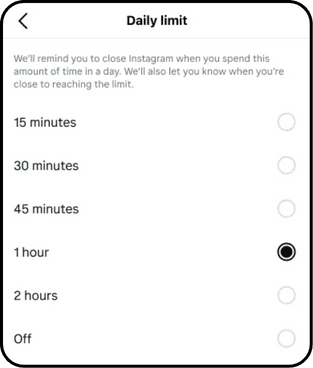
Both of these time management features are opt-in and don't enforce a hard limit. Instead, they are more of a suggestion to the user. In our opinion, it can be a useful tool for helping a person reduce their usage of Instagram, especially when using sleep mode to reduce notifications that keep you coming back to the app. Since this setting is cross-device, it can also help enforce a consistent limit across all devices.
Block Instagram for any person on Mac with a DNS Content Policy
A universal approach that can be used to block Instagram for any person or Mac is to use a DNS Content Policy.
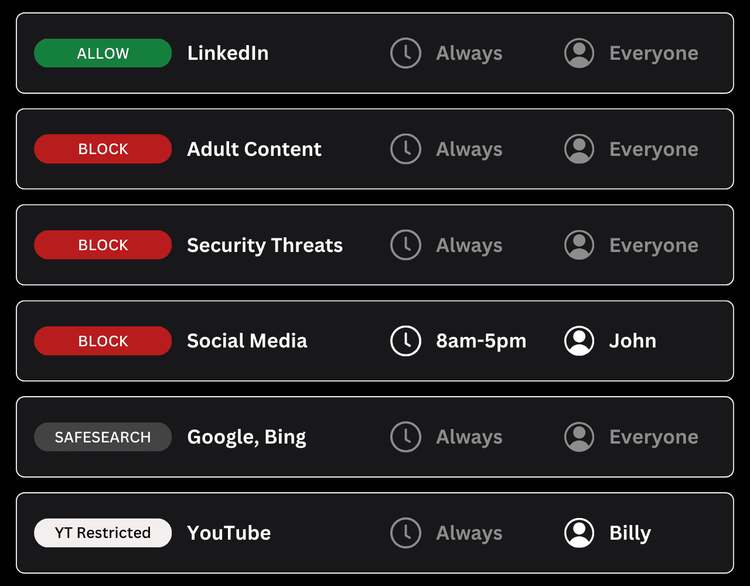
This approach disables the internet access for Instagram so that it can't function. The app can still be downloaded, but it will not work.
Here's how it works:
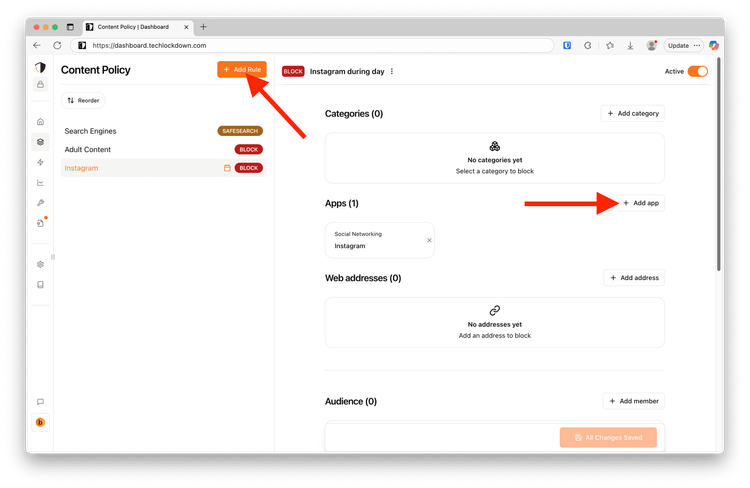
Add a new block rule
In the Tech Lockdown dashboard, go to the Content Policy section and add a new block rule with Instagram selected
Customize the schedule
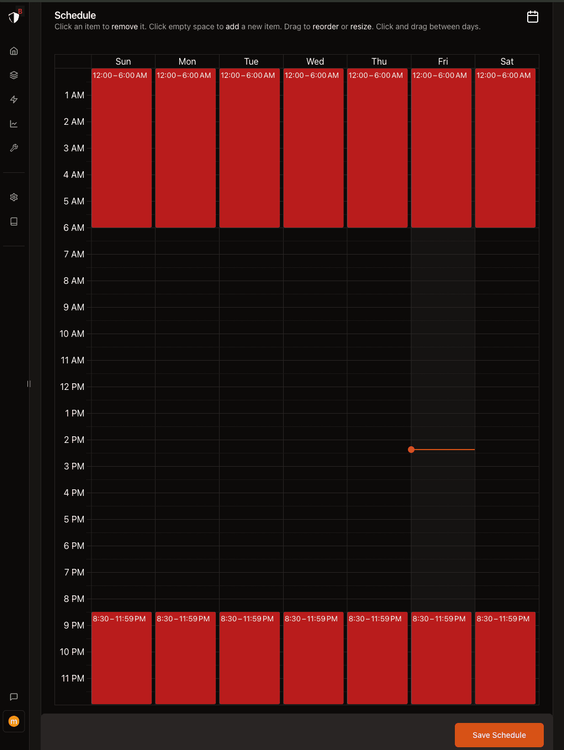
Select a schedule if you want to only block Instagram on specific recurring days and times. Otherwise, leave the schedule blank to block Instagram 24/7.
Specify who the rule applies to
Select an audience if you want to only block Instagram from specific people. Otherwise, leave the audience blank to block Instagram from everyone.
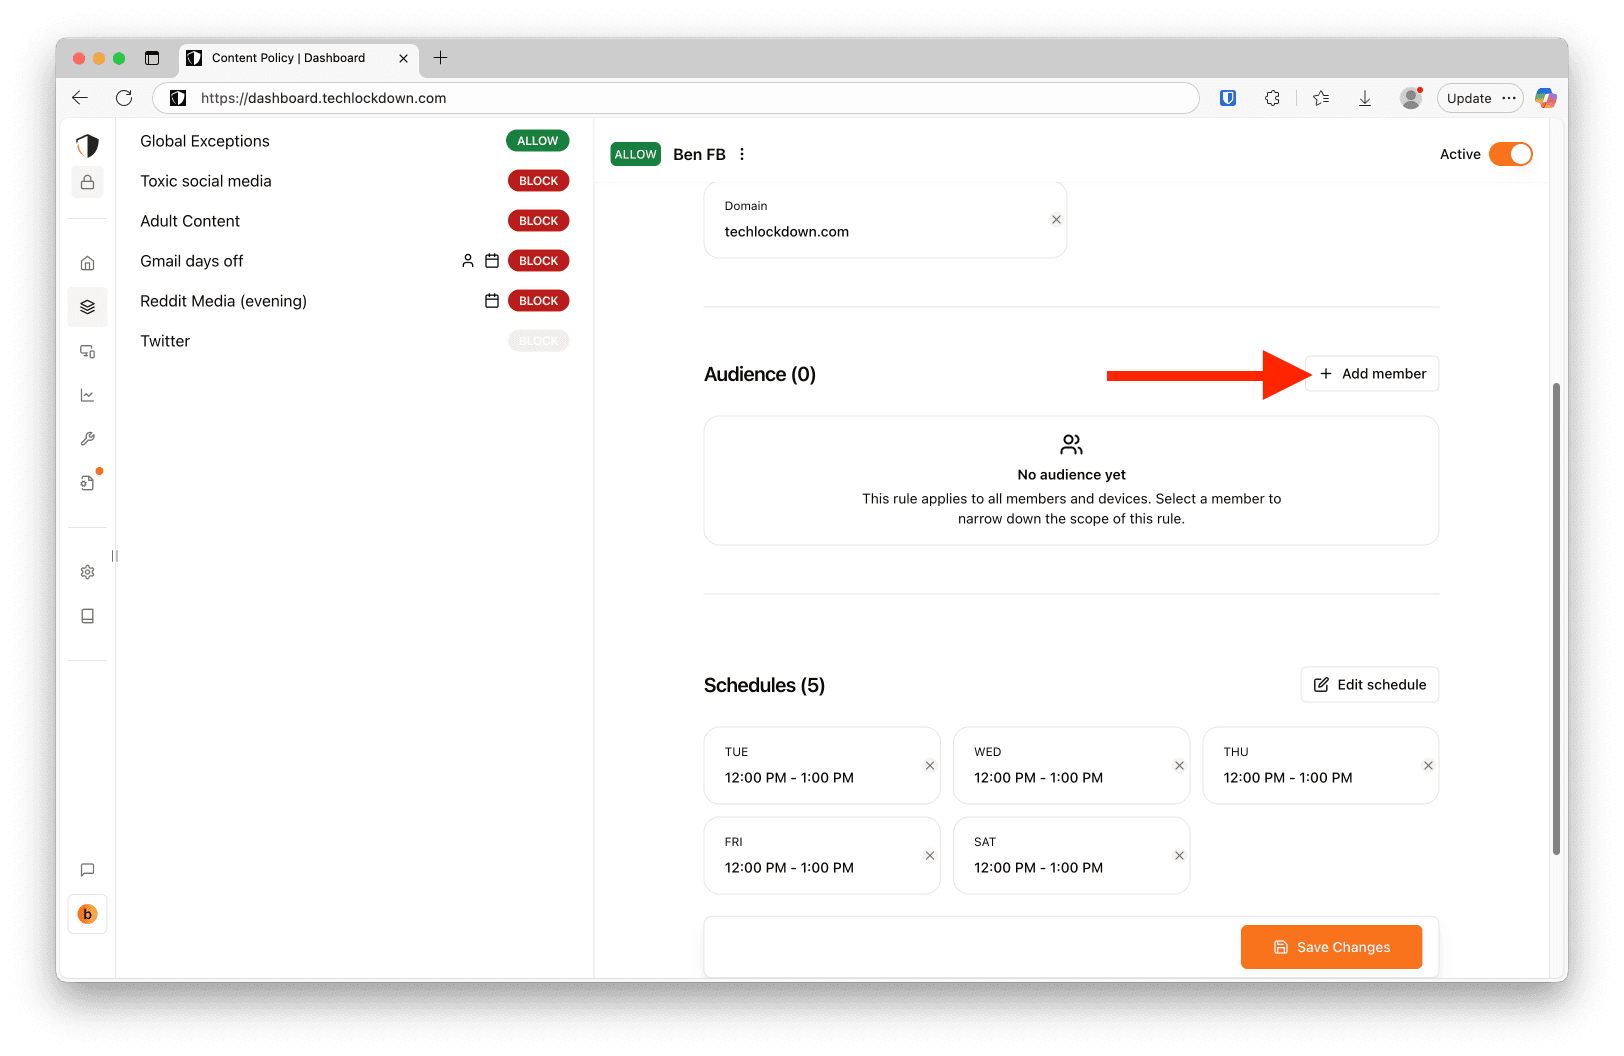
Connect Devices
Go to the Devices section of the Tech Lockdown dashboard and follow the setup instructions to connect devices to the Content Policy
Optional: Lock your Tech Lockdown Profile
If you are self-restricting access to Instagram, you can lock your Tech Lockdown profile so that you have to wait a certain amount of time before you can unblock Instagram.
Block Instagram on a Mac using the hosts file
It's possible to block Instagram for free on Mac by using the hosts file to block a website. This method might feel a bit technical, so pay close attention to the instructions below.
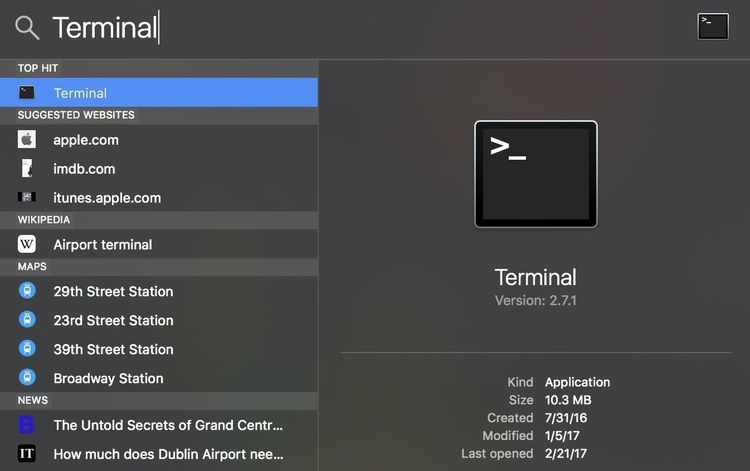
Open the Terminal application
Use Spotlight search to quickly open the Terminal application
Open the Hosts file
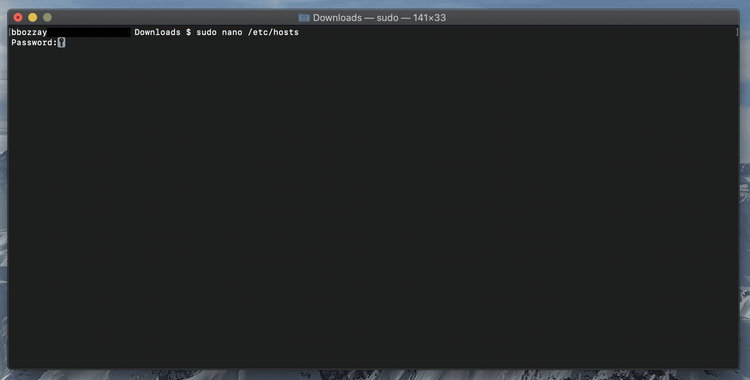
Type sudo nano /etc/hosts then press return. Enter your Macbook's password (must be an admin) when prompted and press return.
Add the Instagram hostname entries
Use your arrow keys to scroll down the file. The mouse and keyboard don't work as you might expect when using terminal/nano.
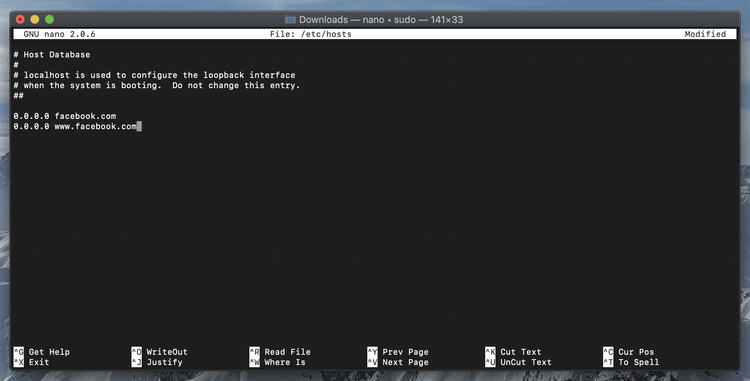
Add the Instagram hostname entries
Add the following entries to the bottom of the hosts file:
0.0.0.0 instagram.com
0.0.0.0 www.instagram.com
Save file
Press cmd+x and then shift+y to save changes.
After making this change, it could take a few minutes for the change to take effect. You can speed this up by flushing the DNS on Mac. To flush the DNS on Mac, you'll run the following command in the Terminal application:
sudo killall -HUP mDNSResponder
Open the Terminal application
Use Spotlight search to quickly open the Terminal application

Run the flushdns command
In the Command Prompt window, enter the following command and press enter to run it:
sudo killall -HUP mDNSResponder
How do I prevent myself from editing the hosts file?
If you're using the hosts file to block yourself from Instagram on your own a Mac, you might be wondering if there's a way to prevent yourself from simply editing the hosts file and removing the Instagram entries. There are a few options for doing this:
- Modifying the hosts file requires administrative privileges. You could switch to using an non-administrative account. This is the best option if you feel you have a serious addiction to Instagram and are willing to sacrifice significant autonomy when using your own Mac.
- Use multiple blocking methods so that removing Instagram entries from the hosts file doesn't allow Instagram to work.